Plan a different presentation for each jewelry type
For rings, choose an angle that reveals the setting and band without letting the mount hide the shank. For pendants, stabilize the chain so it does not sway or change shape. For earrings, decide whether a single piece or a pair best explains the fastening and profile; do not force every category into the same fixture.
For bracelets, secure links and clasp placement so they do not settle between exposures. For necklaces, choose a flat layout or a stable display form, then check that the chain, pendant, and clasp remain visible through the intended rotation. Add separate stills when the support obscures the fastening or drape.
A single-row spin shows one rotation around the item, not the underside or every possible camera angle. Add close-ups of hallmarks, clasps, prongs, and backs where needed. State dimensions separately: an enlarged macro view cannot communicate physical scale by itself.
Balance gemstone highlights with metal detail
Use diffusion to control broad reflections in polished metal, then evaluate whether the stone facets remain distinguishable through the rotation. Light placement that suits a plain band may not suit a faceted stone. Test one representative item from each material and setting style before batch production.
Keep white balance and exposure fixed. Do not retouch away inclusions or surface features that a buyer needs to understand, and avoid saturation changes that misrepresent stone color. A screen image cannot certify gemstone quality or guarantee that a stone will look identical under every light.
Treat macro centering and depth of field as production decisions
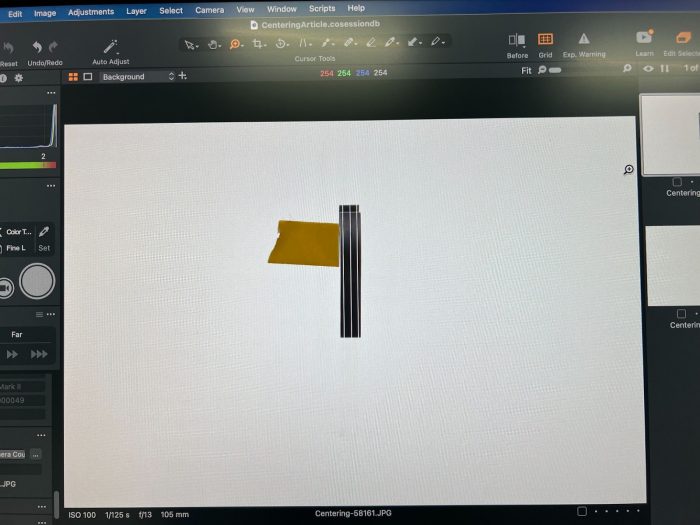
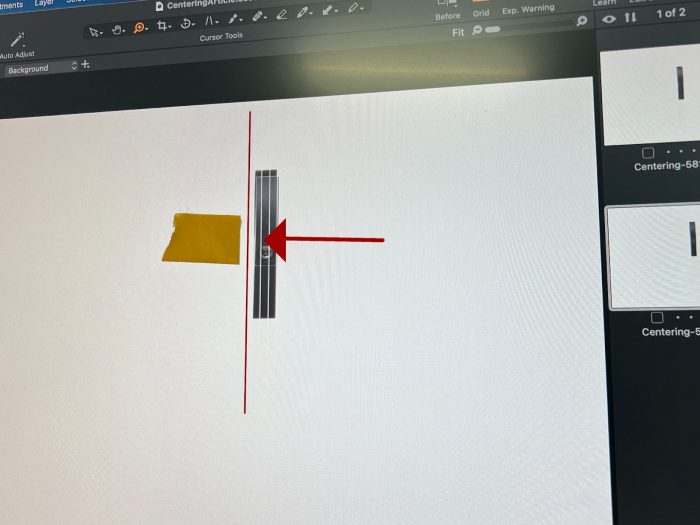
Small centering errors become conspicuous at macro magnification. Position the item on the rotation axis, check its silhouette at opposing angles, and secure it with a suitable non-damaging mount. The SpinShot Lifter is designed for adjustable centering of small items. Check the current technical specifications and confirm the complete product-and-support load before choosing hardware.
Choose focus and aperture from the detail the shopper needs to inspect, then check sharpness throughout the turn. Start with a manageable sequence and test 72 or more frames when smoother transitions in highlights justify the extra work. More frames do not repair missed focus, dust, or an unstable fixture.
Keep editing and publishing consistent across the collection
Budget for fixture cleanup in every frame, especially around thin chains and prongs. Inspect the last-to-first transition for a jump, preserve actual stone color and inclusions, and keep a useful still image and measurements alongside the published spin.
Read the guide / How to photograph reflective products in 360
Frequently asked questions
How many frames should I use for a jewelry spin?
There is no universal number. Test 36 frames for a simple item and a denser set, such as 72 frames, for detail-driven jewelry where moving highlights need smoother transitions. Balance the visible improvement against capture, editing, and delivery costs.
Does a 360 jewelry image replace macro still photographs?
No. Use separate photographs for hallmarks, clasps, stone details, or surfaces the rotation cannot reveal. Keep material descriptions, measurements, and any certification information separate from the imagery.
Will SpinShot remove reflections or retouch my jewelry?
The hosted viewer displays your prepared image sequence. Plan lighting, color correction, and retouching as part of your photography workflow; do not expect the viewer to repair capture problems.
Can I publish jewelry spins on Shopify or WooCommerce?
Yes. SpinShot has Shopify and WooCommerce embedding documentation. Follow the instructions for your storefront and test the result in your actual theme, including on mobile, during the free trial.