Clean and position the product before placing lights
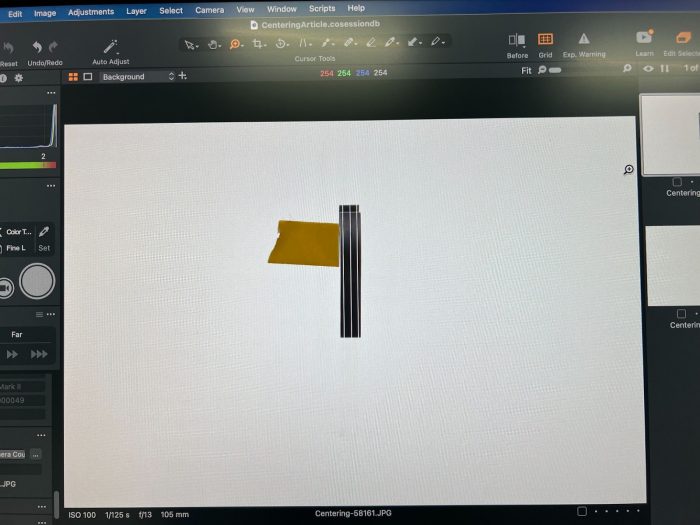
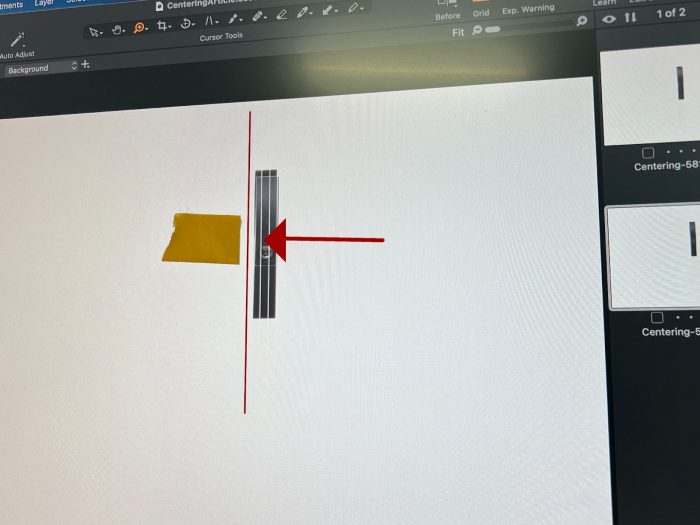
Remove dust and fingerprints using a method safe for the material. Center and stabilize the product, mount the camera on a tripod, and compose with room for the widest silhouette. Take test photographs at the front, a quarter turn, the back, and the opposite side. Do not adjust the product or camera between these checks.
For glass, decide whether you need bright edges against a dark surround or darker edges against a light surround. For polished metal, plan a gradual reflection that describes the curved shape. Use cards and diffusion outside the camera view; secure them so their position cannot change during capture.
Make the apparent light source larger and test the entire rotation
Put diffusion between the light and product, leaving enough distance to spread the light evenly. Move the diffusion and light together until the highlight is broad rather than a small bright point. Add a white card to lift a dark area or a black card to define an edge; change one element at a time and compare the same test angles.
Check a watch crystal for dial visibility and a faceted stone for retained facet contrast. Cross-polarization can help some reflections but is not a universal cure for metal or gemstones and can change their appearance. Evaluate it with the actual product rather than promising reflection-free results.
Lock capture and review the sequence before retouching
Set manual exposure, fixed white balance, and fixed focus. Inspect the histogram and enlarged previews for clipped highlights and missed focus at every test angle. Rotate in even increments and let a moving support settle before each exposure. If a highlight blows out halfway around, fix the lighting setup rather than changing one frame’s exposure.
Apply a consistent crop and color treatment to the complete set, then play the rotation and inspect the last-to-first transition. Retouch dust or temporary supports consistently where appropriate, but do not erase wear or inclusions that describe the actual item. Add still photographs for surfaces the chosen rotation cannot reveal.
- Set up and test the lighting
- Choose camera settings for the sequence
- Follow the product-centering instructions
Frequently asked questions
Can the viewer remove reflections after upload?
No. The viewer displays your prepared photographs. Control reflections during capture and perform any appropriate retouching before uploading the sequence.
Should every highlight be removed from polished products?
No. Controlled highlights help describe surface finish and shape. Preserve accurate material detail and fix distracting or clipped reflections without making the product misleading.